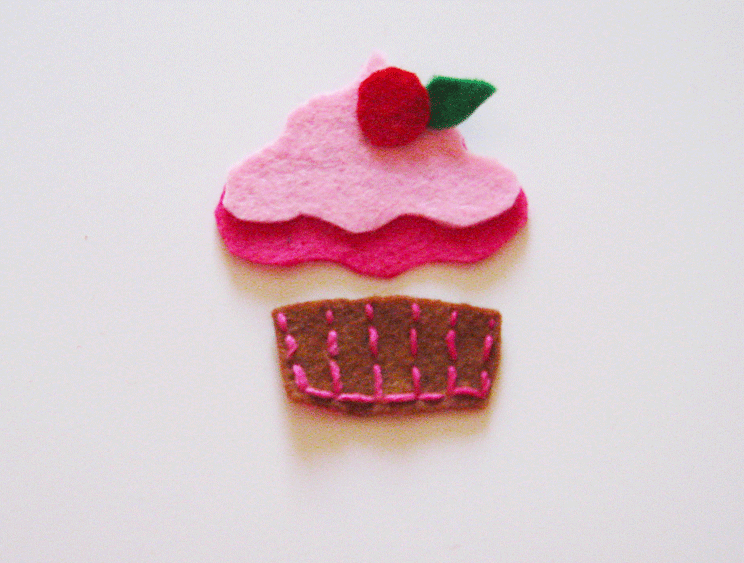
Qualche mese fa ho comprato da Tiger un bel grembiule rosa a pois - lo sfondo di questa foto -, un po' perché mi piaceva ed era molto economico, un po' per migliorare le mie capacità di cucito amatoriale. Volevo creare delle decorazioni in feltro da applicare sul davanti o sulle tasche del grembiule e quindi ho deciso di fare questi simpatici cupcake.
Sono rimasta molto soddisfatta del risultato e ho deciso di farne altri da usare come decorazioni per i pacchi di dolcetti che ogni tanto regalo agli amici.
Come tutti i lavori in feltro sono piuttosto semplici da fare e se come me non siete delle cime nel ricamo, il feltro è il materiale perfetto per fare pratica e tirare fuori cose carine senza troppo sforzo. Buon lavoro!
A few
months ago I bought a cute pink apron with white polka dots – the background of
the picture above – at Tiger store. I bought it not only because it was super
cheap and cute but also to practice my sewing skills: I wanted to create some
felt appliqués and stitch them on the apron. therefore I made these cute
cupcakes. I must say, I was so satisfied with the result that I’ve decided to
make more to use as gift tags and scented drawer sachets.
As pretty
much every felt project, these cupcakes are easy to make even if you are not
incredibly skilled in needle arts. In fact, felt is the perfect material to
practice your sewing and you can easily create pretty things without too much
effort or know-how. Have a good sewing!
Materiali:
- Fogli di feltro in vari colori.
- Carta e marcatore a punta spessa.
- Forbici.
- Ago e filo da ricamo colorato.
- Perline per decorare (facoltative).
Supplies:
- Felt sheets in assorted colors.
- Paper and black marker.
- Scissors.
- Emboridery needle and thread.
- Beads (optional).
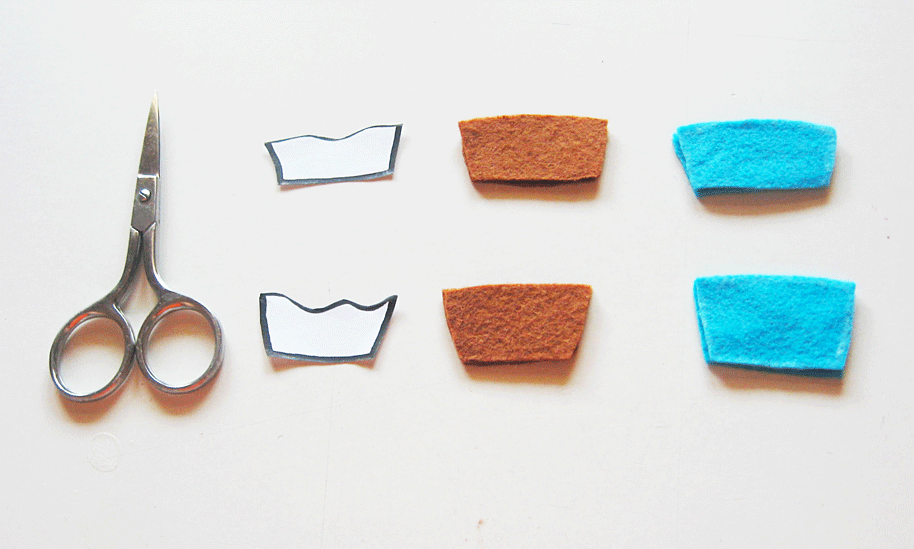
Step 1) Innanzitutto bisogna pensare al design. Ho disegnato una serie di possibili cupcake che fossero graziosi ma anche facili da tagliare e cucire. Alla fine ho scelto due modelli e li ho ritagliati.
Step 1) Firt thing first - the design. I draw a few easy-to-cut-and-sew cupcakes on a regular sheet of paper, I choose two models and cut them out.
Step 2) Tagliamo i vari componenti del cupcake "sembrando" il design iniziale e ritagliando le varie forme dal feltro. Il contorno può essere segnato con del gesso prima di tagliare oppure potete semplicemente tenere il pezzo di cupcake appoggiato sul feltro mentre tagliate intorno.
Step 2) Cut the pattern pieces from felt. You can draw the outline on the felt with some chalk or pin the design on the felt and cut around it.
Voilà! Mi sono tenuta aperte varie opzioni di colore e ho deciso di fare anche delle piccole ciliegie, sempre in feltro.
Voilà. I prepared a few options and I decided to add some felt cherries.
Step 3) È il momento di cucire. Ho fatto dei punti piatti classici. Non ho idea di come si chiamino in italiano perché leggo sempre manuali di cucito in inglese, in ogni caso si chiamano running stitches e sono questi:
Li ho usati sia per creare la decorazione tipo "pirottino di carta" alla base del cupcake, sia per contornare tutto il design.
Step 3) It's stitching time! Using your emboridery needle and emboridery thread, hand-stitch the part of the cupcake together. You can use simple running stitches for everyhing, the way I did.
Step 4) Alla fine ho aggiunto la ciliegia direttamente sul lavoro finito con un punto a croce.
Step 4) Lastly, add the cherry with one cross stitch and you're done :-)
Fatto! Decidete pure cosa volte fare coi vostri cupcake in feltro. Un paio, come dicevo, li ho cuciti sul grembiule, altri li userò come decorazione per i regali delle mie amiche. Se raddoppiate la stoffa potete fare dei sacchettini e riempirli di materiale profumato (grani di lavanda, ad esempio) per metterli nei cassetti della biancheria. Un po' come avevo fatto col border collie in feltro.
Buon divertimento!
Done! now you just have to decide how to use these cute felt cupcakes. As I said, I sew these two on my pink apron but I made more and I will use them as gifl tags. If you double the material you can sew small sachets as I did here.
Alla prossima,
Until next time,
Alice
PS - I would be grateful if you'd correct my English when you find mistakes! Thanks!


No comments:
Post a Comment